 Hi luv’s!
I’ve been feeling really inspired by do-it-yourself projects recently. There are so many beautiful projects and they are literally a fraction of the cost if you were to buy the same product! Let’s be honest here, who doesn’t love saving money?!
About a month ago, when I really started to get into this do-it-yourself obsession, I came across a square tile that I thought would be the perfect dimension for my own dream marble tray. You know those shopping trips where you go in to pick up one thing but then you end up leaving with 20 items, all of which are not what you came in for? I blame you, Home Depot.
I’ve seen so many marble trays all over Instagram and Pinterest, but they are so expensive! We’re talking $100+ here people. So I saw this as the perfect opportunity to dive into DIY and before I knew it, I was at the cashier with all the items I needed to create for dream marble tray. Putting the tray together was so quick and easy, I just have to share it with you all… Oh, and best part? It cost me less than $25!
These are the supplies you’ll need to make your own luxe marble tray:
- A marble tile of your preferred dimensions (I chose this one from Home Depot)
- cost: $5.98
- 2 Drawer Handles (I chose this one)
- cost: (2x$5.31)=$10.62
- Felt Pads (I used some leftover ones I had from Dollar Store)
- cost: $0.20
- Crazy Glue
- cost: $5.99
You might also want to look through your office supplies and grab a ruler and sharpie for measurement (lining up the drawer handles was the hardest part of this DIY).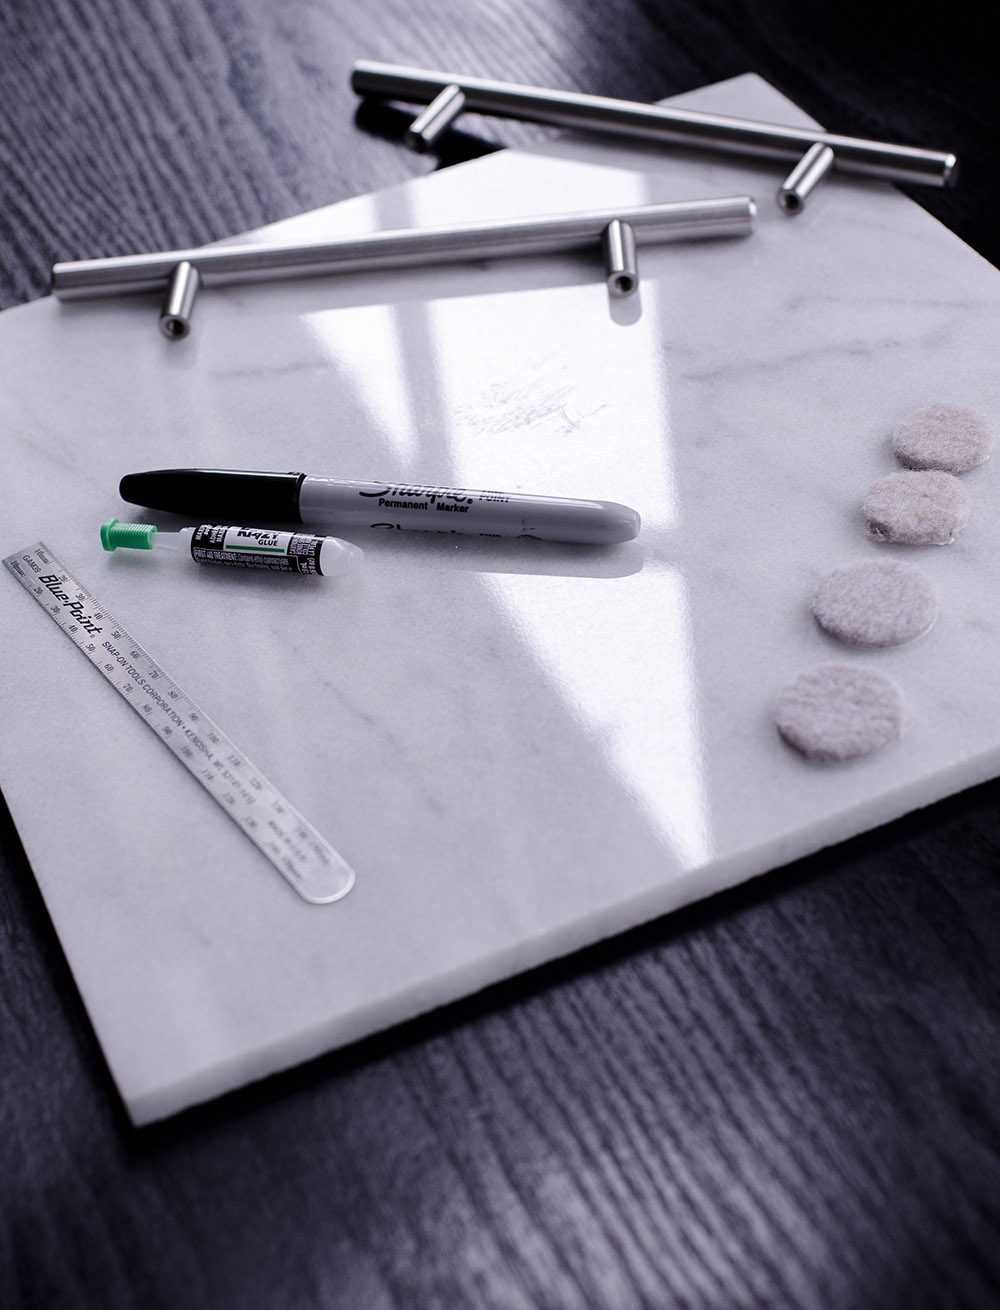
Alright, so now that we’ve got our supplies, let’s get into the fun stuff and make this tray!
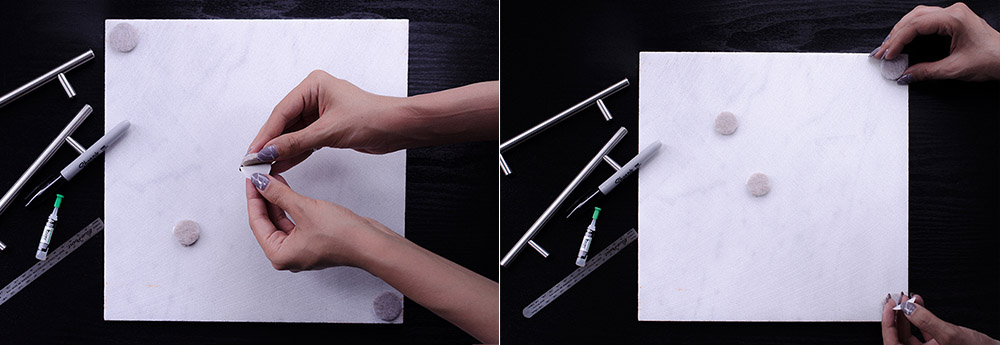
Step 1: Applying felt pads
First, turn your marble tile upside down. Remove the peel off backing from the felt pad, and place one pad on each corner of the marble tile. Your tile should look something like this, once complete.
By adding the felt pads to the bottom of your marble tile, you are ensuring that the tile will not damage the surface that it is placed onto.
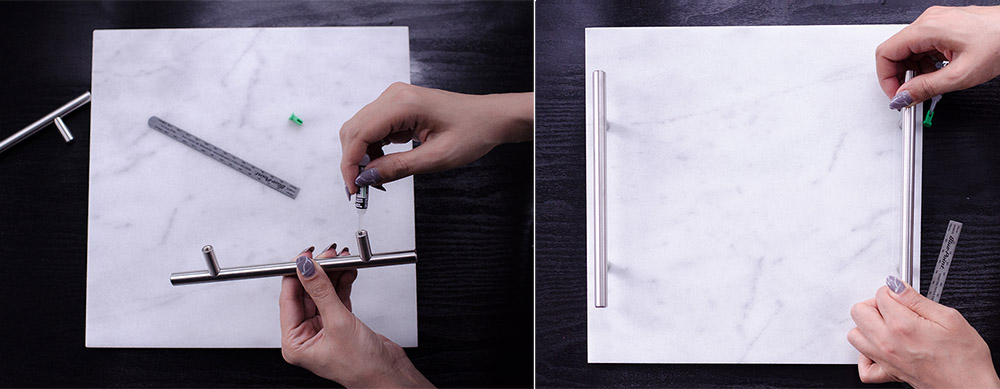
Step 2: Measuring the placement of the drawer handles
Once you have completed step one, you can turn your tile back around (top up). Using the ruler, you are now going to measure the placement of the drawer handles, making sure that they are exactly aligned and straight. This step is very important.
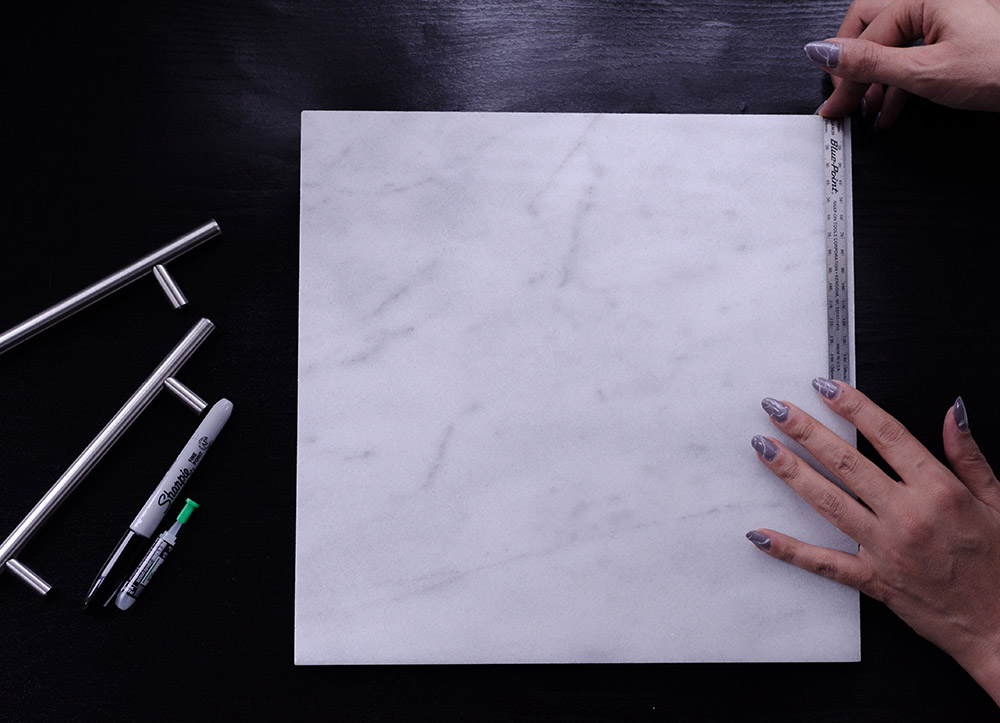
If you’d like, once you have measured exactly where the drawer handles will do, you can mark their placement using a sharpie (the mark will be covered by the handles).
Step 3: Applying Crazy Glue
Now that you know exactly where the handles will be placed on your tile, you can now apply crazy glue to the bottoms of the drawer handles.
**Crazy Glue is a very harsh adhesive, use the product with extreme caution. Should you get Crazy Glue on your fingers, use acetone to remove. DO NOT pull your fingers apart. Please consult this link for more information on proper removal of Crazy Glue.
Step 4: Drying
Once you have applied the crazy glue to the handles and attached them to the tile, avoid moving the handles and tile for at least 24 hours in order to allow the glue to fully dry.
Step 5: Styling your Marble Tray
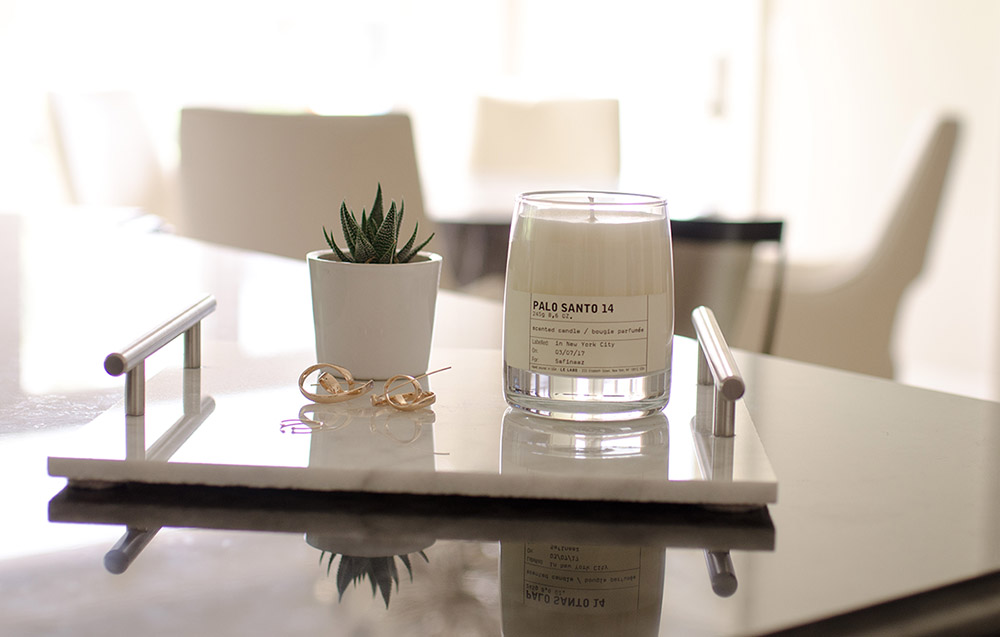
Now that the Crazy Glue is completely dry and the handles are bonded to the tile, you can style your marble tray!
Here is how I styled my DIY Marble Tray..
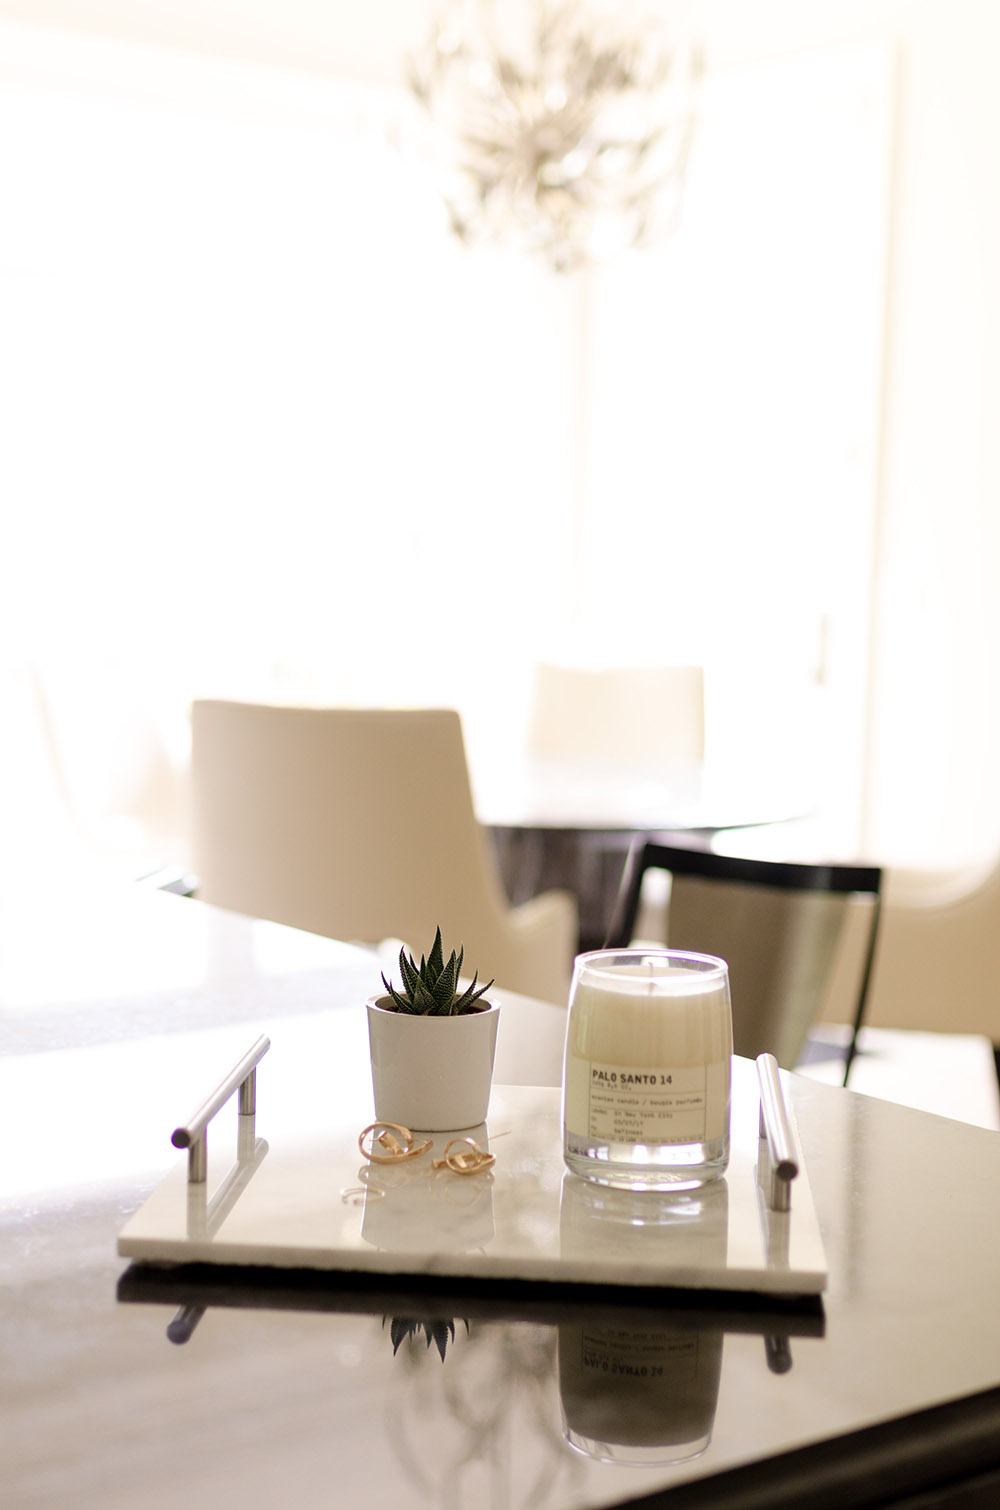
If you end up trying this Luxe DIY Marble Tray, tag me! I’d love to see how you styled your tray! xo
What a great DIY! So clever!
I have a marble slap I use as a coffee table top, but it’s SUPER heavy. This would be perfect as a tray
Great photos too!
Lyndi
http://www.stylecalling.com
Woah..thats amazing that you did it yourself. A beautiful tray. Great Post
Nistha
https://www.fashionistha.com/jumpsuit-fusion/
Great idea! Looks so posh, great for a bathroom or coffee table. Thanks for sharing!!
What a cool DIY! I would love to receive or give this as a gift. Love the modern chic vibe of this tray!
http://www.kathrineeldridge.com
This is such a cute diy and so cheap! Thank you for sharing.
Btw I loooove your marble nails
xo | Cindy Elena
http://www.boringclothes.com